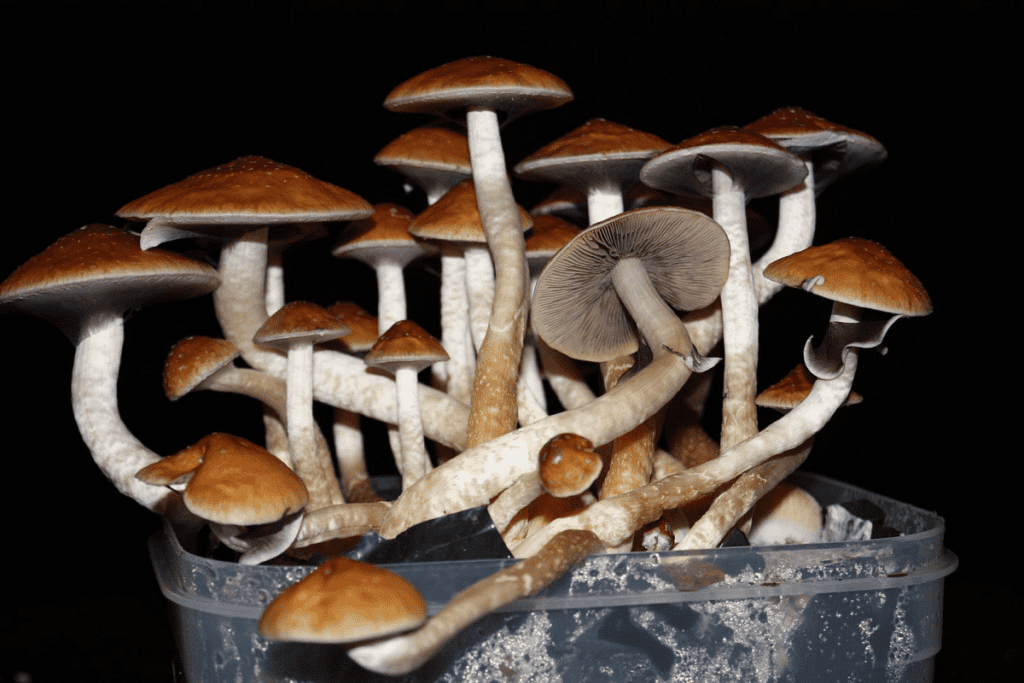
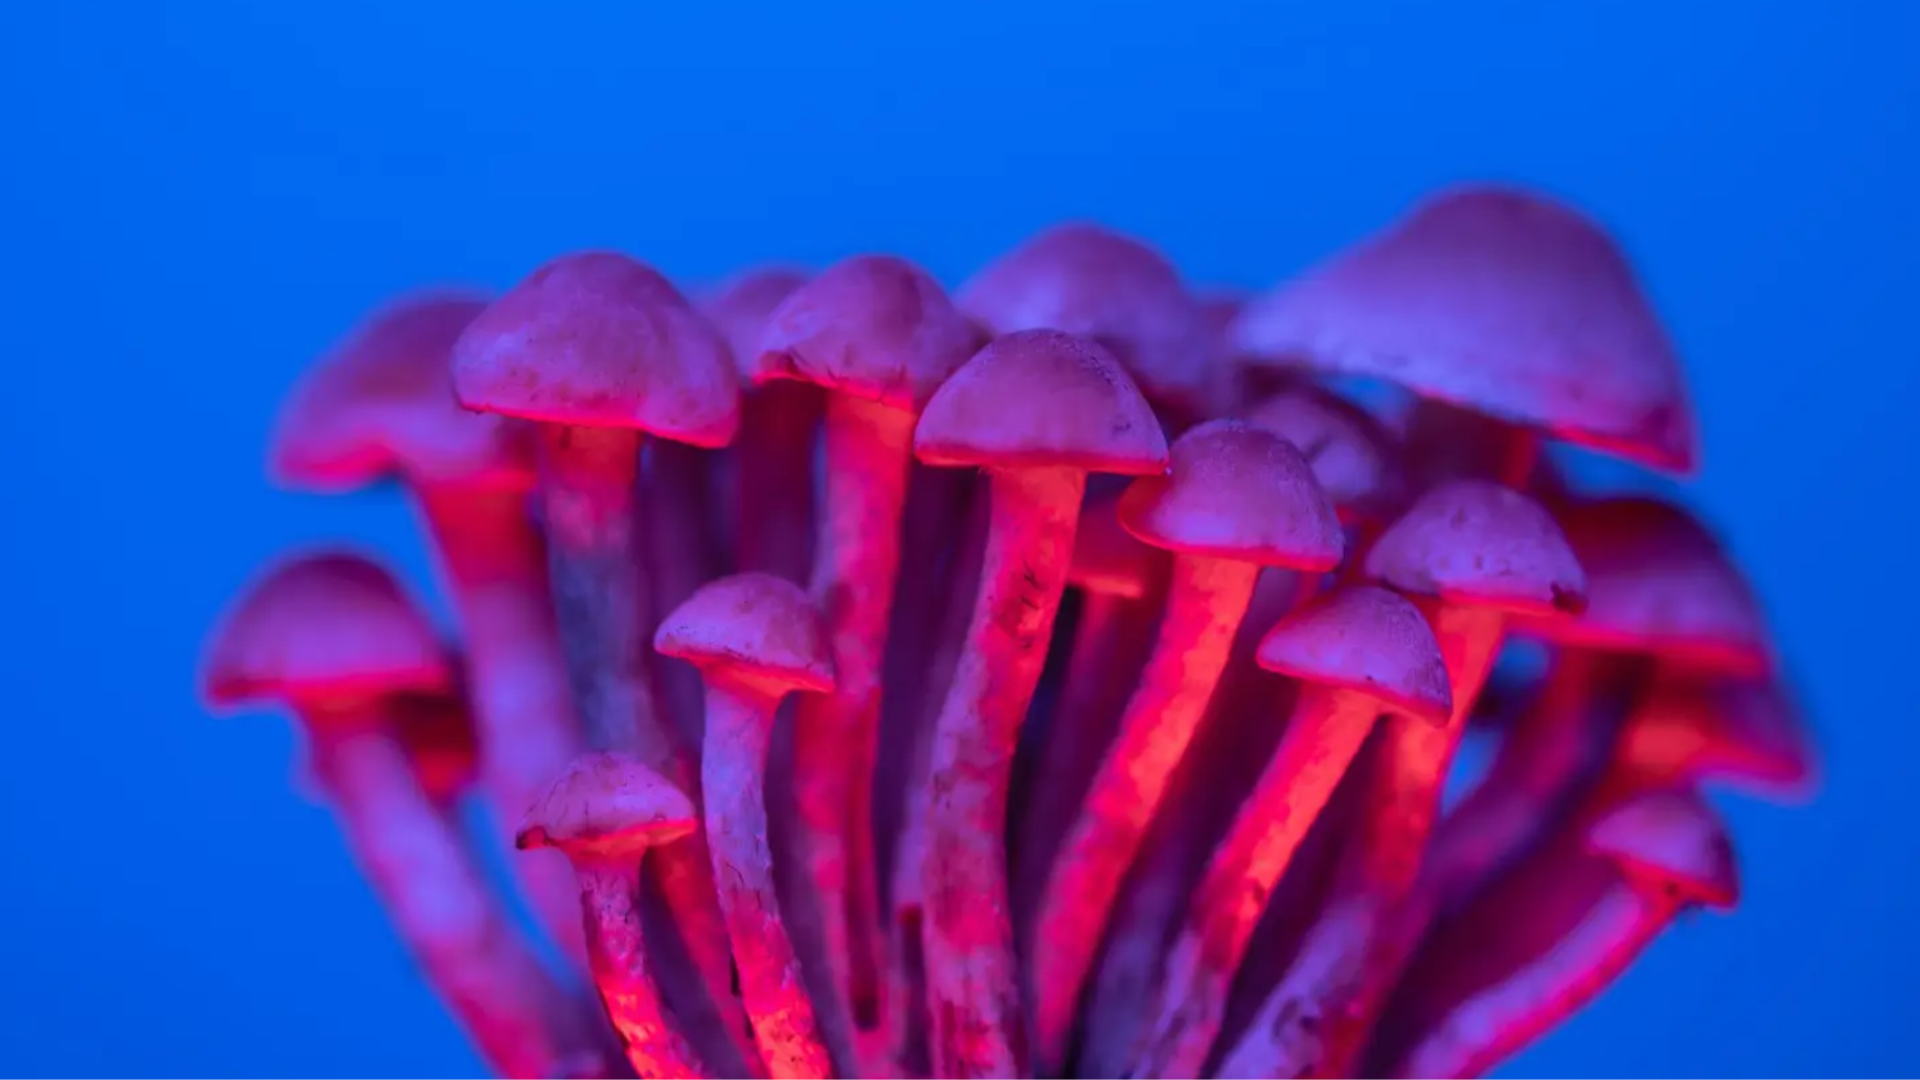
In recent years, I’ve noticed a growing interest in cultivating magic mushrooms, especially as more people become aware of their potential benefits. Whether it’s for personal, recreational use or for exploring the therapeutic potential of psilocybin, growing your own mushrooms can be a cost-effective and rewarding experience. If you’ve been curious about getting started, I’d love to share my insights on the three magic mushrooms that are easiest to grow.
In this guide, I’ll walk you through everything I’ve learned, from choosing the right species to the basics of cultivation. By the end, you’ll have a solid foundation to start growing your own magic mushrooms at home.
Why I Decided to Grow Magic Mushrooms
A few years ago, I started researching magic mushrooms, particularly their potential benefits for mental health and personal growth. I realized that growing my own could be a great way to explore these fascinating fungi. Not only is it cost-effective, but I also liked the idea of having control over the process—knowing exactly how my mushrooms are cultivated and ensuring they are free of contaminants.
Once I began researching, I found that certain species of mushrooms are easier to grow than others. Starting with beginner-friendly species made the entire process much smoother, and today, I’ll share my experiences with three species that I found particularly easy to cultivate.
What You Should Know About Psilocybin Mushrooms
Magic mushrooms contain psilocybin, a natural psychedelic compound that has been used for centuries in spiritual ceremonies and, more recently, studied for its potential therapeutic effects. These mushrooms have a rich history and, from what I’ve learned, have the potential to help with conditions like depression, anxiety, and PTSD when used in the right context.
There are many different species of psilocybin mushrooms, but I’ve chosen to focus on three that I found to be the easiest for a beginner to grow: Psilocybe cubensis, Psilocybe cyanescens, and Psilocybe azurescens.
The 3 Easiest Magic Mushrooms to Grow
1. Psilocybe cubensis
-
- Common Names: Golden Teacher, B+ Cubensis
- Growing Conditions: Warm and humid (70–80°F)
- Difficulty Level: Beginner-friendly
- Potency: Moderate
I’ll start with Psilocybe cubensis, the first species I ever grew. This mushroom is probably the most popular among home cultivators due to its resilience and forgiving nature. Even if you make a few mistakes (and trust me, I did!), Psilocybe cubensis is pretty forgiving. It thrives in tropical and subtropical environments, but I was able to grow it indoors without too much trouble.
My Growing Tips:
-
- Substrate: It grows on a variety of substrates like brown rice flour (BRF), straw, or manure, which gave me a lot of flexibility.
- Humidity: High humidity is key, so I used a humidifier to maintain 90–100% humidity.
- Light: You don’t need much light, but I set up a simple 12-hour light/dark cycle to keep things consistent.
Why I Found It Easy to Grow:
What I really appreciated about Psilocybe cubensis is how adaptable it is. Whether you’re working with a basic grow kit or setting up something more advanced, this species just seems to thrive. Plus, spore syringes for cubensis are readily available, making the whole process even easier.

2. Psilocybe cyanescens
-
- Common Names: Wavy Caps
- Growing Conditions: Cool temperatures (40–60°F)
- Difficulty Level: Intermediate
- Potency: High
Next up is Psilocybe cyanescens, also known as Wavy Caps. This species took a bit more effort, but it was still manageable, especially if you prefer outdoor growing. I found that Psilocybe cyanescens grows best in cooler climates, and since I live in a temperate region, outdoor cultivation worked great for me.
My Growing Tips:
-
- Substrate: Cyanescens thrives on wood-based substrates like wood chips or sawdust, which I easily sourced from a nearby garden center.
- Outdoor Cultivation: I built an outdoor patch in my backyard using mulch and wood chips, and it did really well in the cooler months.
- Temperature: Fruiting occurred when the temperature dropped to about 50–60°F, which meant I could grow them in the fall.
Why It Worked for Me:
While it’s more of an outdoor mushroom, I found it quite satisfying to see Psilocybe cyanescens pop up in my garden. Once established, it didn’t need much maintenance, and it kept fruiting year after year with minimal effort.
3. Psilocybe azurescens
-
- Common Names: Flying Saucers
- Growing Conditions: Cold temperatures (40–60°F)
- Difficulty Level: Intermediate
- Potency: Very High
The final species I experimented with was Psilocybe azurescens, also known as Flying Saucers. I’ll admit, this one took a bit more patience, but it’s definitely worth it if you’re looking for a potent strain. Psilocybe azurescens is native to the Pacific Northwest, but I was able to replicate the conditions it prefers by creating an outdoor wood-chip bed.
My Growing Tips:
-
- Substrate: Like Psilocybe cyanescens, azurescens prefers wood-based substrates. I used a combination of sawdust and wood chips.
- Fruiting Conditions: This mushroom needs a drop in temperature to initiate fruiting, so I set up my patch in late fall.
- Patience Required: It took a bit longer for this species to colonize, but once it did, the yield was impressive.
Why I Liked Growing It:
Psilocybe azurescens might take longer to grow, but the results were definitely worth it. Not only is it one of the most potent mushrooms I’ve cultivated, but it also produced consistent harvests once established. If you’re patient and have the right outdoor space, I’d recommend giving it a try.
My Basic Growing Setup and Tips
If you’re new to growing magic mushrooms, here’s the basic setup I used for all three species. It’s pretty straightforward, and you can always adjust it based on your available space and resources.
Essential Equipment
-
- Sterilized Jars: These are perfect for colonizing your substrate.
- Mushroom Spores: Because of our background in the industry we create our own master jars of isolated liquid culture. Most growers will purchase LC from reputable online sellers.
- Substrate: Depending on the species, I used brown rice flour (BRF), wood chips, or sawdust.
- Humidifier: A simple humidifier helped me maintain the high humidity needed.
- Grow Box or Tent: For indoor cultivation, I used a basic grow box to keep conditions stable.
- Sterile Gloves & Mask: These were essential for keeping things clean and avoiding contamination.
Steps for Successful Mushroom Cultivation
-
- Inoculation: I sterilized the substrate and inoculated it with mushroom spores.
- Colonization: I kept the jars in a warm, dark place to let the mycelium colonize the substrate.
- Fruiting: Once colonized, I transferred the substrate to a grow box or outdoor patch and maintained the right temperature and humidity.
- Harvest: I harvested the mushrooms once they reached maturity, just before the caps opened.
This process worked well for me with all three species, and with a bit of tweaking, you’ll be able to find what works best for your setup.
Give It A Try
Growing magic mushrooms has been a rewarding journey for me, and I hope this guide inspires you to start your own cultivation adventure. If you’re just starting out, I highly recommend beginning with species like Psilocybe cubensis, Psilocybe cyanescens, or Psilocybe azurescens. Each of these mushrooms offers its own unique growing experience


